Table of Contents
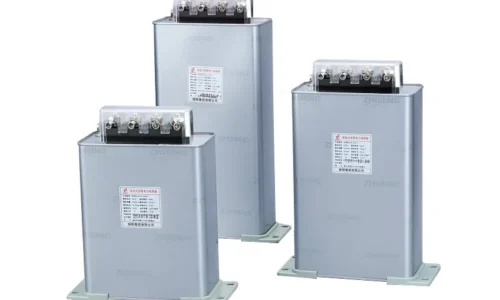
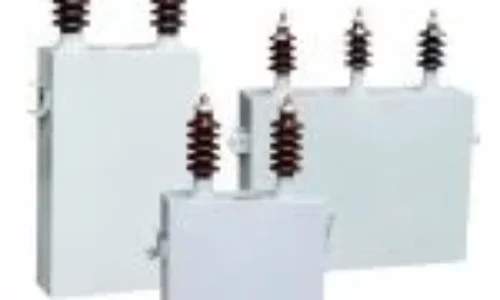
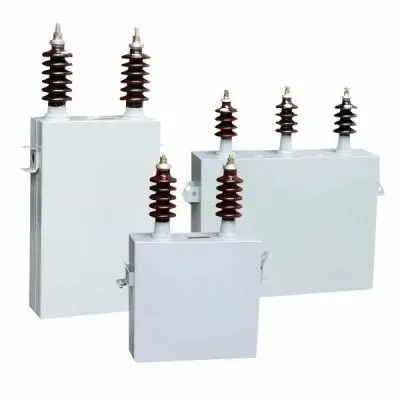
Understanding Shorted Capacitors
A shorted power capacitor is essentially useless—and potentially dangerous. When the internal insulation fails, current flows directly between the plates instead of being stored. This condition prevents the capacitor from doing its job and can cause broader equipment problems. Motors won’t start. Power supplies fail. Circuit breakers trip repeatedly.
The tricky part? A shorted power capacitor often looks completely normal from the outside. Unlike bulging or leaking units, internally shorted components may show zero visible damage. This makes testing essential rather than relying on visual inspection alone.
Catching a shorted power capacitor early prevents cascading failures in connected equipment. A failed unit in an HVAC system, for instance, can burn out compressor motors if not addressed promptly.
Safety Precautions Before Testing
Working with capacitors carries real risks. Even a small power capacitor can store enough energy to cause painful shocks. Larger units found in industrial applications? Those can be genuinely dangerous.
Before any testing procedure:
- Disconnect equipment from all power sources
- Wait several minutes for internal bleed resistors to work
- Discharge the capacitor manually using a resistor (20k ohm works well)
- Verify discharge by shorting terminals briefly
- Keep one hand behind your back while working—old electrician habit that prevents current flowing across the chest
The discharge step really cannot be skipped. A capacitor might hold charge for hours or even days after power removal. Assuming it’s safe because equipment is unplugged has caused many unpleasant surprises over the years.
Visual Inspection Methods
External Signs of Internal Shorts
While shorted capacitors don’t always show damage, sometimes they do. Worth checking for these indicators:
- Burn marks or discoloration on the casing
- Melted plastic around terminals
- Bulging top or bottom surfaces
- Oil leakage or crystalline deposits
- Unusual odor (burnt electronics smell)
Any of these signs suggests the power capacitor has likely failed, possibly through internal shorting. Replacement becomes the obvious choice without further testing.
Terminal Condition Assessment
Burnt or corroded terminals sometimes indicate shorting events. When massive current flows through a short circuit, terminals heat up dramatically. Evidence of overheating—melted solder, discolored metal, damaged wire insulation—points toward potential internal shorts.
Testing With a Multimeter
The Resistance Test Method
A standard multimeter provides the quickest way to identify shorted capacitors. The procedure goes something like this:
- Ensure the capacitor is fully discharged
- Remove the component from its circuit completely
- Set the multimeter to resistance mode (ohms)
- Touch probes to the capacitor terminals
- Observe the reading behavior
Here’s what the readings mean:
| Multimeter Reading | What It Indicates |
|---|---|
| Starts low, rises gradually | Healthy capacitor charging |
| Stays at zero or very low | Shorted capacitor |
| Infinite/OL immediately | Open capacitor (also failed) |
| Stable mid-range reading | Leaky capacitor |
A good power capacitor shows a characteristic pattern during resistance testing. The reading starts low as the meter’s internal battery charges the component, then climbs steadily toward infinity. This charging behavior confirms the dielectric insulation remains intact.
A shorted capacitor shows none of this. The reading stays at zero ohms, or very close to it, indicating direct electrical connection between the plates. No charging happens because current flows straight through instead of accumulating.
Capacitance Mode Testing
Multimeters with capacitance measurement capability offer another approach. A severely shorted power capacitor typically shows either zero capacitance or wildly incorrect values. If the rated capacitance is 50μF but the meter reads 0.1μF, something has definitely gone wrong internally.
This method catches partial shorts that resistance testing might miss. The component could show some charging behavior yet have significantly degraded capacitance due to partial internal failures. If you don’t have a multimeter, please read How Do You Check A Power Capacitor Without A Multimeter?
The Analog Meter Advantage
Old-fashioned analog multimeters actually work better for capacitor testing in some ways. The needle movement provides visual feedback that digital displays cannot match.
When testing a healthy capacitor with an analog meter:
- Needle swings toward zero initially
- Gradually returns toward infinity
- Movement speed relates to capacitance value
A shorted capacitor makes the needle slam to zero and stay there. No gradual return, no charging curve—just a dead short. This immediate visual feedback makes diagnosis almost instantaneous. Many experienced technicians keep an analog meter around specifically for capacitor testing despite having fancier digital equipment available.
Testing Without Instruments
The Charge and Discharge Method
When no meter is available, a basic functionality test works reasonably well. After ensuring complete discharge:
- Apply appropriate DC voltage to the capacitor briefly
- Disconnect the power source
- Wait thirty seconds or so
- Carefully short the terminals with an insulated tool
A functioning power capacitor produces a spark during this discharge. A shorted capacitor produces nothing—the charge dissipates internally through the short circuit immediately after charging stops. No storage means no spark.
This test lacks precision but identifies completely shorted units reliably enough for field troubleshooting purposes.
Common Causes of Capacitor Shorts
Understanding why capacitors short helps prevent future failures:
- Voltage spikes exceeding rated limits
- Excessive operating temperatures
- Age-related dielectric breakdown
- Manufacturing defects
- Physical damage from vibration or impact
- Moisture intrusion into the housing
A power capacitor operating near its maximum voltage rating in high-temperature conditions faces significantly higher failure risk. Quality installations use components rated well above expected operating voltages—this margin provides real protection against shorting failures.
When Replacement Is the Only Answer
Once a power capacitor tests shorted, repair isn’t really possible. The internal damage that causes shorting cannot be fixed. Replacement with a properly rated unit becomes the only practical solution.
Matching specifications matters considerably. Capacitance value, voltage rating, and physical dimensions all need consideration. Using a higher voltage rating than the original provides extra safety margin—a reasonable upgrade if space permits. Lower voltage ratings should never be substituted regardless of other matching specifications.
Frequently Asked Questions
Can a shorted capacitor damage other components?
Yes, definitely. A shorted power capacitor can allow excessive current flow through connected circuits, potentially damaging motors, control boards, and other equipment. Fuses and breakers sometimes trip fast enough to prevent damage, but not always. Prompt replacement matters.
Will a shorted capacitor always show zero resistance?
Usually, though not absolutely always. Most shorted capacitors read zero or near-zero ohms. However, some partial shorts show low but measurable resistance—maybe a few ohms instead of true zero. The key indicator remains the absence of normal charging behavior during resistance testing.
How often should capacitors be tested for shorts?
For critical equipment, annual testing makes sense during routine maintenance. Systems running continuously in harsh environments—high heat, humidity, vibration—might warrant more frequent checks. HVAC capacitors in particular seem prone to failure and often benefit from seasonal inspection before peak usage periods.